

News Center
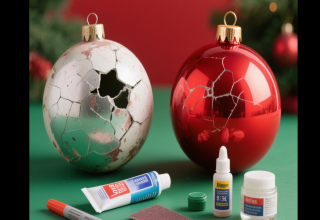
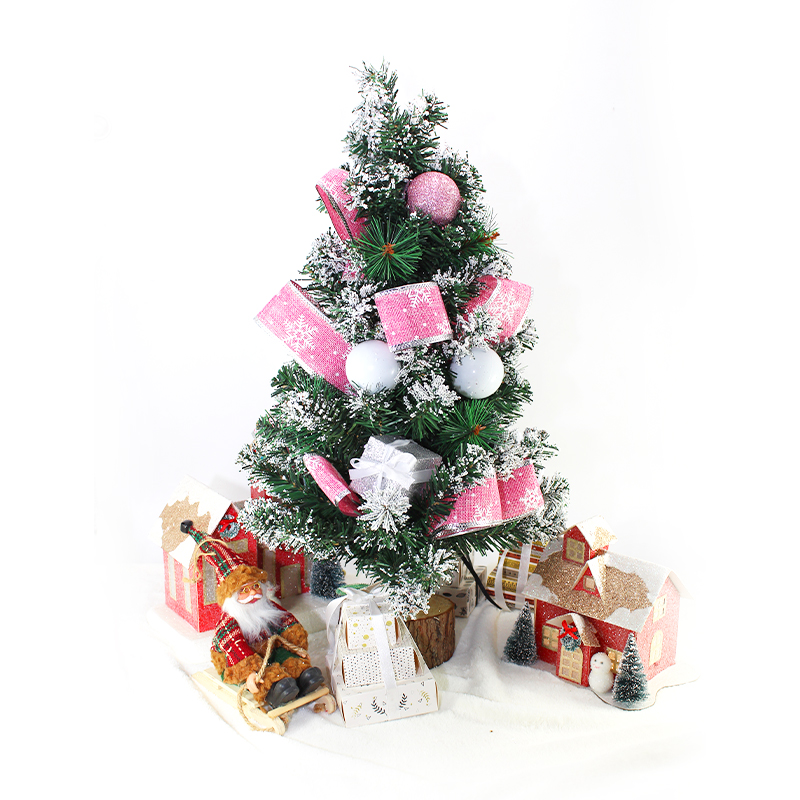
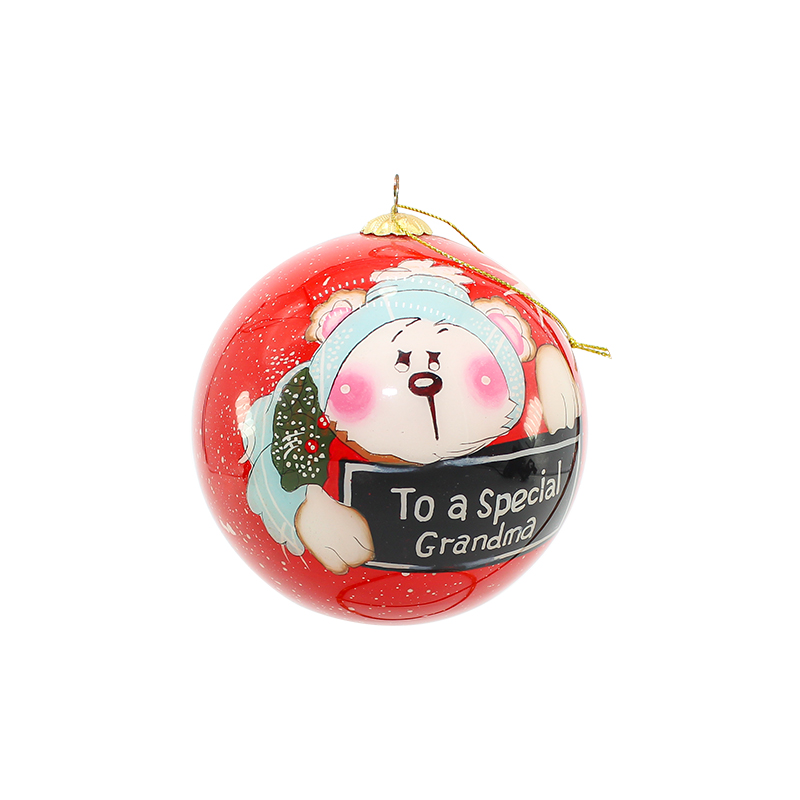
Plastic Christmas balls are essential for Christmas decorations. Their bright colors and patterns add to the festive atmosphere. But during use and storage, their surfaces can get scratched, cracked, faded, etc. Repairing these damages can extend their lifespan and maintain their beauty.
I. Detailed Repair Operations
1. Color Matching
Selecting Suitable Materials:The color of repair materials is crucial. Whether it's a paint pen, adhesive, dye, or spray paint, try to find a color that matches or is close to the original. If uncertain, buy several similar colors for comparison and mixing.
Test Coating and Mixing:It's not easy to find an exact color match. First, test - coat in an inconspicuous area to check the color and adhesion. If there's a difference, mix different proportions of similar - colored materials to get the closest combination. For a gold - and - red gradient ball, mix the two colors separately and blend them naturally in the gradient area.
Color - Separation Technology:For colored balls, clear boundaries between colors are important. Use masking tape to protect areas that don't need repair. This prevents color overflow and ensures sharp boundaries.
2. Surface Treatment
Sanding and Polishing:
Sanding Process:The repaired surface is usually rough and dull. To make it smooth like the undamaged part, sand it with different - grit sandpaper, starting with coarse (e.g., 400 - grit). Sand in one direction to avoid obvious marks. Then use finer sandpaper (800 - , 1200 - , 2000 - grit) in sequence, reducing pressure with each change, until the repaired area matches the surrounding surface.
Polishing Process:Polishing is vital to match the gloss of the repaired and undamaged areas. After sanding, use polishing paste or tools like a polisher or cloth with wax to polish the repaired area. Apply even pressure and polish in one direction until the gloss matches, making the repair blend in.
Flatness Adjustment:The flatness of filler material is crucial. Apply it to be level with the ball's surface to avoid a rough look. After application, let it cure as per the instructions. Check for flatness and trim or scrape any uneven areas with a knife, then sand to make the repaired area level with the surrounding surface for a natural look.
II. Overall Finishing after Repair
1. Gloss Adjustment
Unifying Gloss:Different repair materials may have varying gloss levels. To even out differences, apply a layer of transparent protective coating or wax to the entire ball (including the repaired area). This unifies the gloss and enhances durability.
Material Compatibility:Ensure the protective coating or wax matches the ball's material. Incompatible materials may cause damage like dissolution or discoloration. Test on an inconspicuous area first.
2. Pattern Repair
Hand - Painted Pattern Repair:If hand - painted patterns are damaged, repair them by mimicking the original style and details. This requires painting skills and observation. Sketch the outline with a pencil, then fill in with matching paint, paying attention to concentration and layers for a seamless repair.
Sticker Pattern Repair:For sticker - patterned balls, replace脱落的贴纸 by finding similar stickers. Ensure the new sticker's size, color, and texture match the original. Apply adhesive to the back, place it carefully, and press out any air bubbles for a flat, secure fit.